18 February 2013
How to Ship a CocoaPod
After a long, frustrating day of failing to find a good iOS library for
parsing Well-Known-Text (WKT), we gave up and decided to write something. If
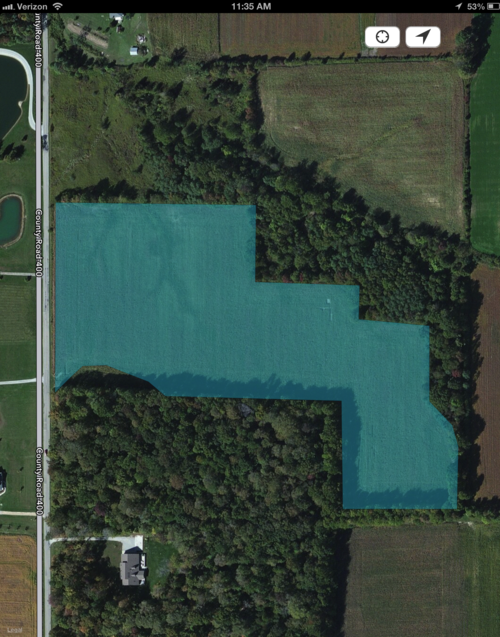
WKT strings are what you are getting, you can parse geometries from the
coordinate data there to draw polygons on a MKMapView. In fact, WKT can
define 18 different geometric objects, but we were only dealing with polygons
and multi-polygons, and only exterior ones at that.
MooreChris and I spiked on it late one day. Over
the next two nights I put together a
WKTParser class that takes a
string of WKT, and spits out arrays of MKPolygons, making use a lot of
Peter’s existing coordinate generating
code.
It seemed obvious that we should share this, since we went through so much pain to find something and came up empty-handed. We love CocoaPods so it seemed like a great opportunity to contribute something.
I began looking at a few existing repos to get a feel for how to organize the
code into a CocoaPod library. Judging by the variety of what I saw, the first
lesson was, perhaps there’s no right way to do it. What matters is that your
CocoaPods .podspec can find the core files and classes it needs to install.
CocoaPods docs suggest creating publicly accessible directory named “Classes”
for this, but it seemed that most libraries put their core files in a top-
level folder having the same name as the repo. Although technically this
collection of core files is all that is needed to install a CocoaPod, the core
files most often exists inside of a larger repository. That repository usually
includes a sample application that demonstrates the functionality of the
library, or serves as a basis for running the library’s tests against.
WKTParser was no exception. Even though I was only shipping one class,
WKTParser needed an AppDelegate to run my Kiwi specs against. I landed on
this structure for the library.
I created an empty iOS application named WKTParserExample, in xCode.
WKTParserExample is the also the group / directory where the AppDelegate
would be generated and the sample project would be created. I Installed Kiwi,
using CocoaPods. And I worked my specs into WKTParserTest/ and my core
classes into WKTParser/. Getting the directory structure on the filesystem
in line with the project references in xCode is still a bit confusing to me. I
landed on a pattern of creating and organizing the files on the filesystem,
and then dragging them into the xCode project navigator from Finder. After
setting up and configuring my test target, specs were passing,
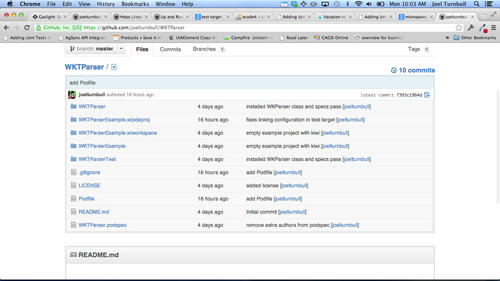
I pushed it up to github, and I was ready to take the next step.
How do you make a public repo a CocoaPod? It’s pretty painless, you publish a
.podspec file. It only needs to be publicly accessible, the top level of
your library’s github repo is a fine place to put this. Consumers of your
library can simply point to this public .podspec in their Podfile to install
your code. If you’re generally unfamiliar with
CocoaPods, see MooreChris’ earlier article, CocoaPods
and You: A Primer for the Uninformed.
After installing CocoaPods on your machine, you can run pod spec create
ProjectName to generate a ProjectName.podspec file. In the .podspec you
set configurations that tell CocoaPods where to fetch the project, where the
important source files are, what the license is, and dependencies that should
be installed. The commented contents of the generated file will lead you
through this. The only other trick is that you’ll need to version your repo
with git tag and set that version number in the .podspec config as well.
You’ll make a couple gaffs. Run pod spec lint ProjectName.podspec and
correct any reported issues.
That’s it! Find a project you want to integrate your classes into, and put a
line for your library in the Podfile, pointing to your publicly accessible
.podspec.
pod 'WKTParser', :podspec => "https://raw.github.com/joelturnbull/WKTParser/0.0.1/WKTParser.podspec"
Run pod install and watch CocoaPods install your library!
Enjoy, and in the meantime, submit your podspec to the canonical github repo. You’ll need to make sure it lints
without issue. When it’s accepted, consumers of your CocoaPod will no longer
need to specify the :podspec location, only the name.
Happy publishing!